Archa NAS Home turns an ordinary computer into a NAS with ZFS. File sharing, snapshots, backups, iSCSI disks, UPS and Home Assistant – all in one clear web interface, in English and Czech.
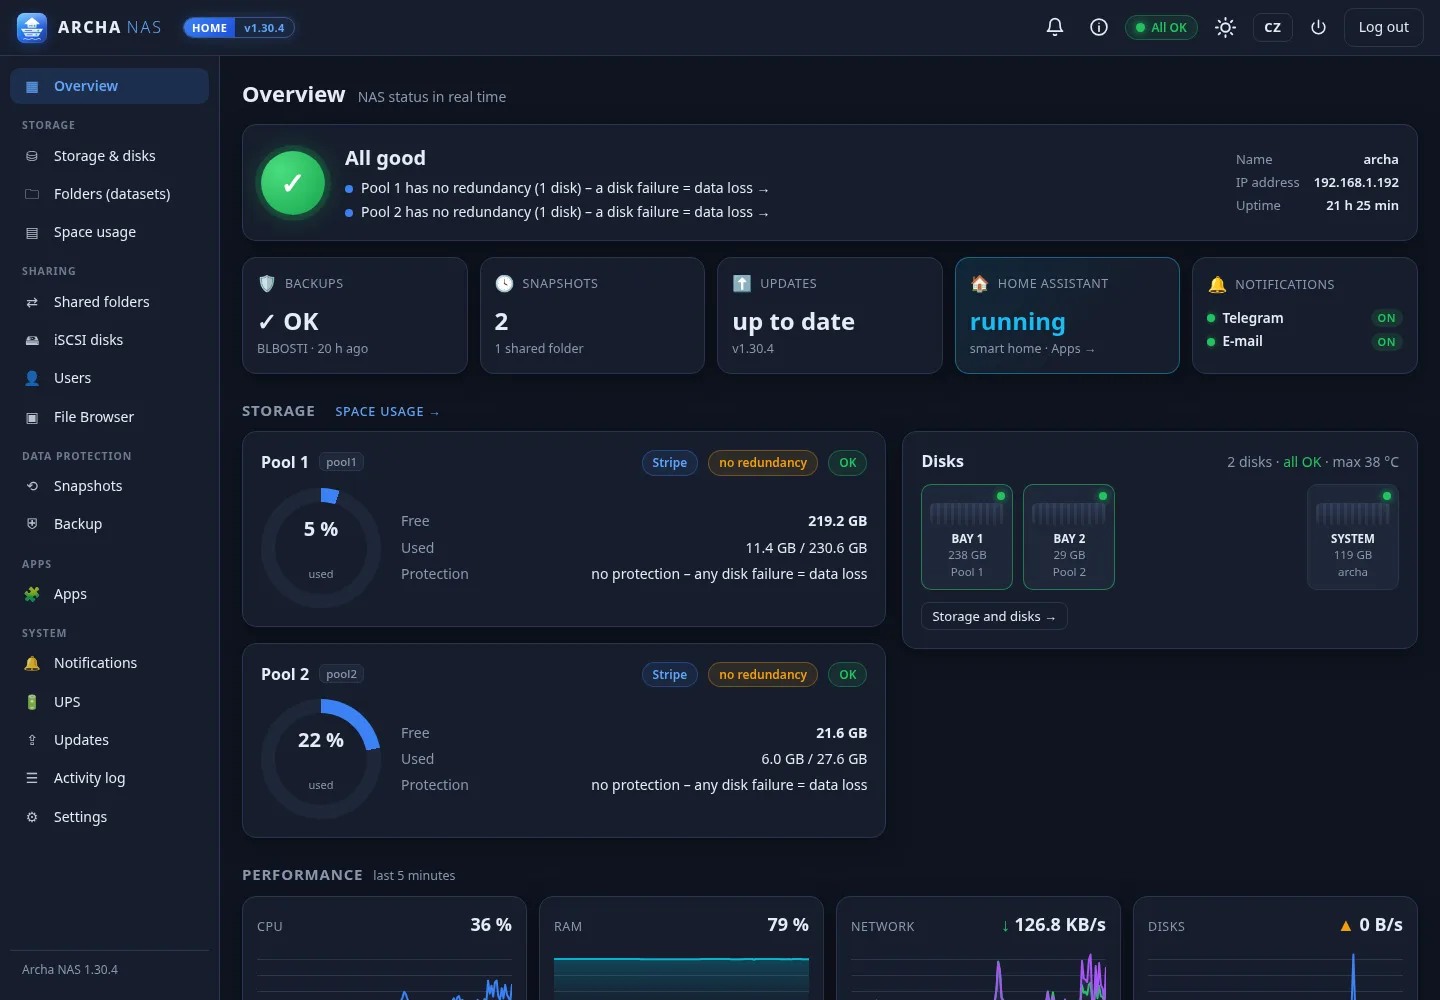
ZFS and Debian under the hood, just like business servers. On top, an interface anyone understands.
ZFS checksums every byte and repairs damaged data from the other disks by itself. Snapshots protect against deletion and ransomware.
The state of the whole system is saved before every update. If a new version does not start or does not work, the NAS rolls back by itself.
A first-run wizard, RAID recommendations based on your disks, plain-language messages instead of technical codes, and help next to every important option.
Plus a few things others are missing.
After installation the NAS guides you through everything you need: language, administrator account, NAS name, storage with a RAID recommendation and your first shared folder. When reinstalling, it restores your settings from a backup.
Mirror, RAIDZ1–3, hot spare. The wizard recommends a layout for your disks and shows how many disks may fail.
Drive bays with coloured status and activity LEDs, SMART, scheduled tests and data checks. Disk replacement in a few clicks, even in the same bay.
For Windows, Mac and Linux. Users, groups, folder permissions and per-user quotas.
A network disk that Windows sees as its own. Thin provisioning, one disk = one computer with a CHAP password, step-by-step guide.
Automatically every hour and day. Restore individual files from the web or via Previous Versions in Windows.
A file deleted in a shared folder is not gone right away – the NAS recycle bin shows who deleted it and when, and one click puts it back in its original place. After 30 days it is deleted automatically (adjustable); new folders have it on by default.
To a USB disk, another pool or another ZFS NAS over SSH, or rsync. New: to an external NTFS disk you can open on any Windows PC. The NAS attaches a USB disk by itself, detaches it after the backup and tells you it can be unplugged – and if the disk is missing, the backup waits until you plug it in. Schedule, history and an alert when a backup fails.
Browse files in the browser with photo previews, download files or whole folders as ZIP.
Smart home as a virtual machine right on the NAS, with USB passthrough, snapshots and backups.
Failing disk, full pool, failed backup, power cut – to the bell, Telegram and e-mail.
Eaton, APC, CyberPower and budget USB UPSes, network cards or another NAS’s UPS. Clean shutdown, power-on when power returns, sharing with other devices.
One click. After an update the NAS checks by itself that everything works – and if not, it returns to the previous version. It saves the state of the whole system before every change.
On top of the password, a 6-digit code from an app on your phone – Google Authenticator, Microsoft Authenticator, Aegis, 2FAS. Recovery codes in case you lose the phone, trusted device for 30 days.
Password-guessing lockout (5 attempts → 15 minutes) with an alert, HTTPS with its own certificate authority, activity log. The web interface does not run as root; root operations go through a verified helper.
Ideas, bugs or questions go straight from the NAS to the author – no e-mail setup needed. The reply comes back to the NAS bell and the whole conversation stays in My messages.
Who changed what in the NAS administration, when and from where – sign-ins incl. rejected ones, pools, disks, shares, users, backups, updates. Search, a filter for rejected actions and CSV export. Handy when you need to find out who changed a setting.
Records of all NAS services right in the web interface, no SSH needed. Error and warning filter, search, live follow and a view of the previous boot – what happened before a crash or restart. Optional change log for shared folders: who created, modified, renamed or deleted a file. Old entries are deleted automatically (adjustable period and size cap), so the disk never fills up.
Real screens from a running NAS. Click an image to enlarge it.
An older PC, a mini PC or a computer with room for disks.
It takes about half an hour. You need a monitor and keyboard once for the installation – after that the NAS runs without them and you manage it from a browser.
The Archa NAS installation file (Debian 13 + ZFS + Archa) – coming soon. After downloading you can verify the SHA256 checksum listed next to the link.
The installation works without internet – everything is on the ISO.
A stick of at least 4 GB – it is completely overwritten.
Boot the computer from the stick (the boot menu is usually on F12, F11, F8 or Esc) and choose Install Archa NAS Home (English).
The installer asks only a few things:
The network is set up automatically from the router; it only asks if no router is found. The installation takes about 5–15 minutes.
At the end the installer asks you to remove the USB stick – then click Continue. The NAS restarts, moves itself to ZFS on the first start (about a minute) and restarts once more by itself.
With Secure Boot on, a blue screen appears once: press a key → Enroll MOK → Continue → Yes → password archa → Reboot. The NAS shows a short on-screen guide beforehand.
The NAS monitor shows the administration address, e.g. https://192.168.1.50. Open it on a computer in the same network.
The first time, the browser warns about the certificate – the NAS has its own certificate authority. Click Advanced → Proceed. You can remove the warning for good in Settings → HTTPS certificate.
The first-run wizard sets up everything you need:
At the end it shows how to connect to the folder from Windows, a Mac and a phone.
archanas-… in your router's list of connected devices (DHCP).archa; if you skip it, the NAS repeats the guide on the Overview.Currently version 1.35.2 – being tested on real hardware. A public installation ISO and updates are being prepared. This page will grow.
 ARCHA